We talk to a lot of homeowners who’ve done their research on James Hardie. They know it’s fiber cement. They’ve heard about the 30-year warranty and the fire rating. They’ve seen the colors online and maybe even played around with the Hardie Designer tool. By the time they call us, they’ve already made up their mind on the product.
What they haven’t been able to find anywhere is a straight answer to the most practical question of all: What does this actually look like, from the first phone call to the day the crew packs up and leaves?
It Starts With a Real Assessment, Not Just a Measurement
The first thing a qualified contractor should do is spend time inspecting your existing siding before quoting you a price. Not just measuring square footage, but actually evaluating what’s behind your current siding and what condition everything is in.
This matters more than most homeowners realize. What’s underneath your siding significantly affects the scope of the project. If there’s rotted sheathing, compromised house wrap, or moisture damage that wasn’t visible from the street, that needs to be addressed before any new siding goes on. A contractor who hands you a quote after a five-minute walk-by either isn’t looking carefully or isn’t planning to deal with what they find.
At CRS, our initial assessment includes evaluating your current siding material, the condition of visible trim and fascia, any areas where water may have been entering, and the overall profile of your home. We’re asking ourselves what the installation is going to require, not just what it’s going to cost in the most optimistic scenario.
The Prep Work Is Where the Project Is Won or Lost
Once the project is scheduled, the first day on the job is almost entirely about removal and preparation. This is arguably the most important part of the whole process.
Your existing siding comes off first. What happens next depends on what the crew finds underneath. At CRS, that does not mean patching around old materials and hoping for the best. Our approach is to install a complete, all-new exterior system. That means replacing the house wrap, updating insulation where needed, and installing new trim, flashings, cladding, soffits, and other critical exterior components so the system works together as it should.
That level of preparation is a big part of what separates a thorough James Hardie installation from a surface-level one. While some contractors may try to reuse existing components wherever possible or opt for the cheaper or faster route by reusing old materials, skipping necessary replacements, or cutting corners on critical waterproofing details, we believe the better approach is to start clean and build the system the right way from the ground up.
Those decisions may save time in the moment, but they often create problems that do not show up until years later, when moisture gets behind the siding and causes damage.
The right answer isn’t to assume the worst, but to hire a contractor who is transparent about what they find during demo and handles it correctly when they do.
James Hardie Requires Specific Installation Practices
Fiber cement is not vinyl. It’s heavier and more rigid, and it requires a different approach to handle and install correctly. James Hardie publishes detailed installation guidelines, and their certification program exists specifically because the installation techniques matter to the product’s long-term performance and the validity of the warranty.
The material needs to be kept off the ground. Direct ground contact compromises the product. The cut edges need to be primed before installation to prevent moisture intrusion at the exposed fiber cement. Fasteners need to hit studs at the right depth, not driven in so hard they crack the material or so shallow they won’t hold. Expansion gaps need to be maintained at corners and joints to account for the material’s movement across seasons. Caulking also has to be done correctly at penetrations, around trim, frieze boards, and at corners, and every butt joint should be properly flashed to protect against water intrusion.
None of these things are complicated. But every one of them represents a place where an inexperienced crew, or a crew that’s rushing, can create a problem that won’t show up for years. When your contractor is Hardie-trained, it means they’ve been trained on these practices and are accountable to them.
What the Installation Timeline Actually Looks Like
One of the most common questions we get is how long a siding project takes. The honest answer is that it depends on the size of the home, the complexity of the design, and the scope of the exterior details involved. With James Hardie, there are many variables, so overly specific timelines can be misleading.
In general, a smaller or average-sized home will often take about a week, while a larger home may take closer to two weeks. For especially large or highly detailed homes, the project can extend to three or even four weeks.
At CRS, we focus on completing the project perfectly, not in record time. This includes ensuring things are done in the proper order, with trim, corners, and flashing details handled as part of the system rather than as last-minute add-ons. Our approach leads to a cleaner-looking installation and a more reliable exterior system over the long term.
Caulking and touch-up paint on cut edges are handled throughout the process and completed before the crew closes out the job. A final walkthrough with the homeowner should always be the last step, giving you the chance to flag anything before the equipment is loaded.
ColorPlus® vs. Primed: Understanding Your Finish Options
This is a decision point that surprises some homeowners who didn’t know it was coming, so it’s worth explaining clearly.
James Hardie siding is available in two finish options. ColorPlus® Technology is the factory-applied finish. The color is baked on at the factory, and the finish comes with a 15-year warranty covering fading, chipping, and cracking. It’s the version of the product that requires the least ongoing maintenance and delivers the most consistent color across the entire installation.
The primed-for-paint option comes with a primer coat applied at the factory, ready to accept paint on site. This is a legitimate choice if you have a specific custom color in mind that isn’t available in the ColorPlus® palette, or if you’re matching an existing color elsewhere on the home.
We typically recommend ColorPlus® for most NJ homeowners. The factory finish is more durable than a field-applied coat, and the color consistency across every board and panel is noticeably better than what field painting delivers. The 15-year finish warranty is also a meaningful factor. It transfers to a buyer if you sell the home, and it specifically covers the finish, separate from the 30-year product warranty.
How to Vet a James Hardie Contractor Before You Sign Anything
The siding market in New Jersey is crowded, and not everyone offering James Hardie installation is qualified to deliver it at the level the product deserves. Here’s what to actually look at when you’re comparing contractors.
Ask directly whether they are a James Hardie-trained installer. This certification is verifiable. James Hardie maintains a contractor locator on their website. If a contractor says they’re certified but can’t point you to any documentation, push harder.
Ask to see examples of completed James Hardie jobs in your area, ideally homes you can actually drive by. Photos in a portfolio are fine, but there’s no substitute for looking at a finished installation in person and seeing how the trim details were handled, how clean the corners are, and how the siding looks after a few years of New Jersey weather.
Ask how they handle surprises during demo. A contractor who gives you a confident non-answer to this question, like “we’ll figure it out”, is telling you something important about how they operate. The right answer involves a clear process for communicating what they find, getting your sign-off on any additional scope, and documenting the work with photos.
And get everything in writing: the scope, the materials specification including the specific Hardie products and colorways, the start date, the payment schedule, and the warranty documentation you’ll receive at project close. Verbal commitments in construction don’t hold up when something goes sideways.
When the Job Is Done Right, You Know It
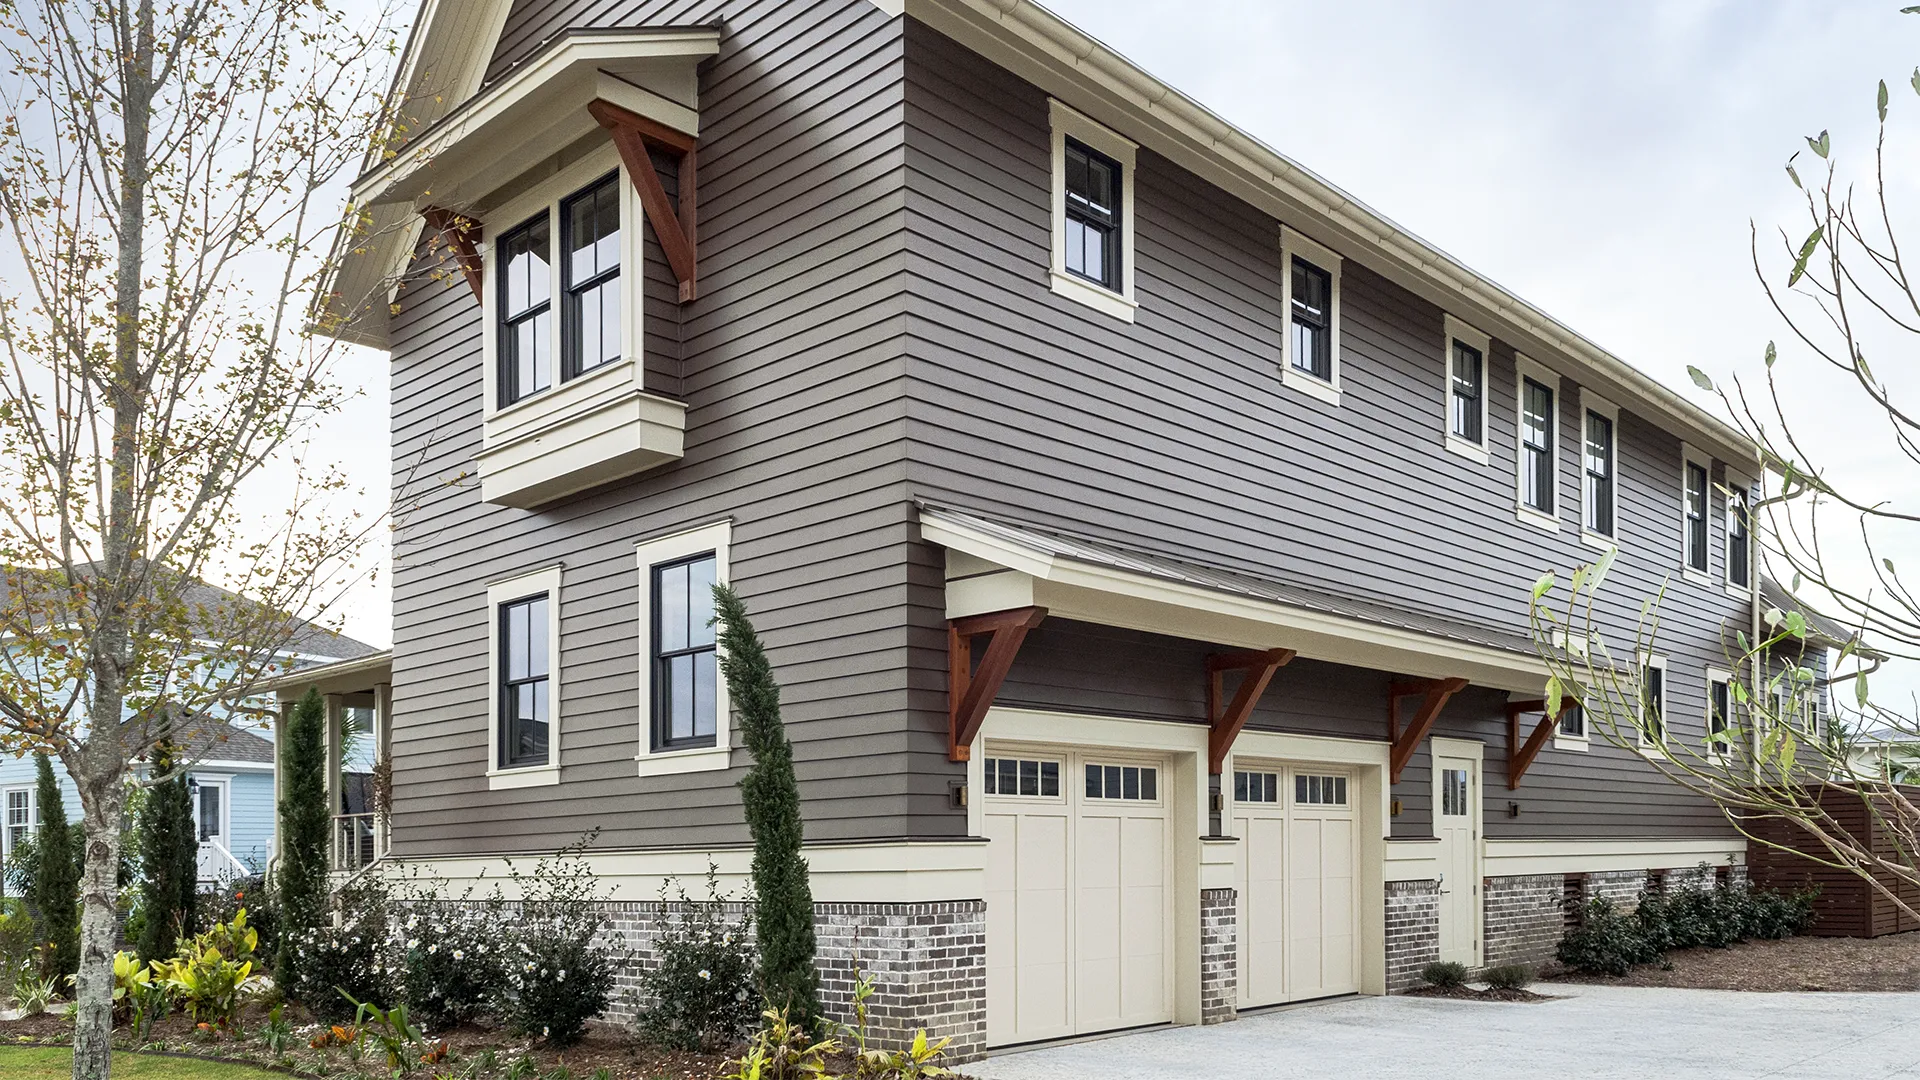
A well-installed James Hardie siding job looks precise. The lines are straight, the corners are tight, the trim details are consistent, and there are no visible gaps or sloppy caulk joints. It doesn’t look like vinyl. It has a weight and solidity to it that reads differently from the street.
More importantly, a properly installed job is one you won’t have to think about for a very long time. The product warranty covers you for 30 years. The ColorPlus® finish is covered for 15. And when the installation is completed by a certified contractor in accordance with Hardie’s guidelines, those warranties are valid and enforceable.
At CRS, we’ve been installing siding in Northern New Jersey since 1977. We’re factory-trained by James Hardie, which means we’re accountable to their installation standards on every job we do. Our process is built around doing it right the first time, not because it’s a slogan, but because it’s the only way to deliver a result we’re willing to stand behind.If you’re ready to get James Hardie siding on your home, contact CRS today for a thorough assessment and a straight answer on what your project will actually involve.